Step 1
Building the pad for the water storage tank
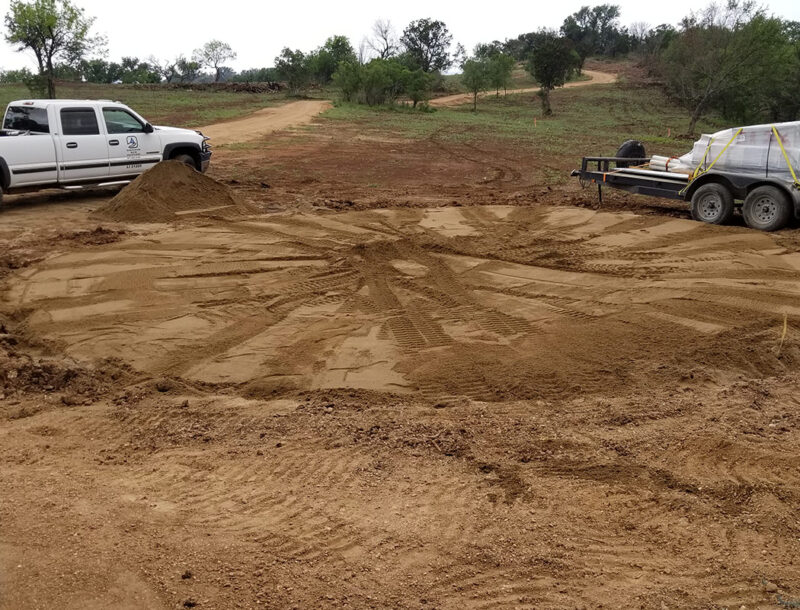
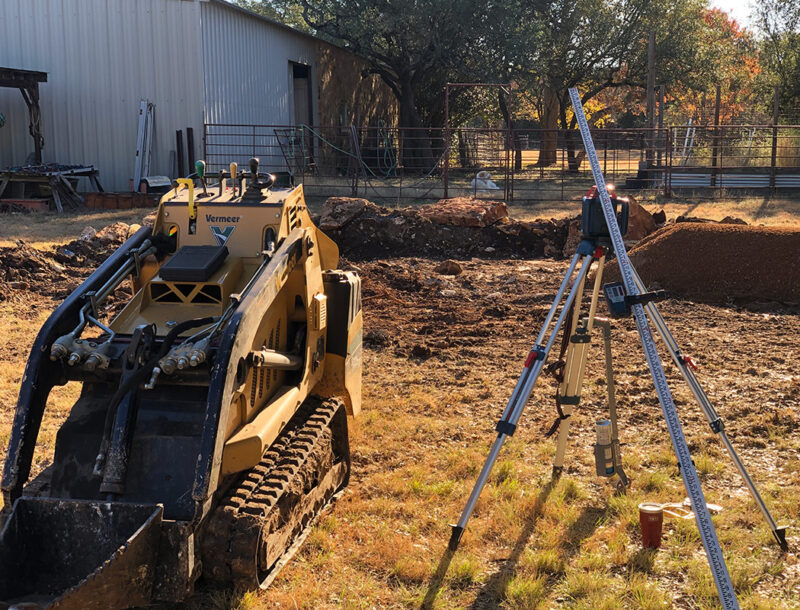
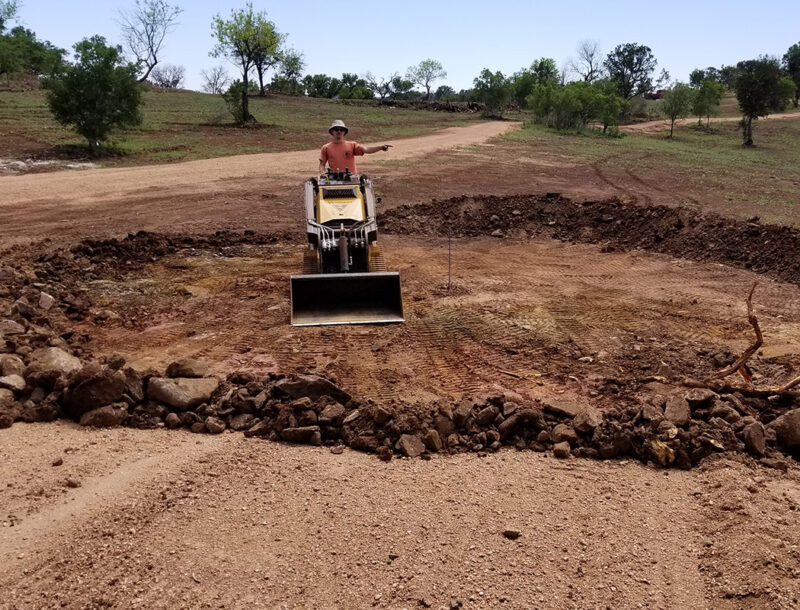
The first step in building a rainwater collection system is to determine where the storage tank will be located. After that, a tank pad will need to be established, creating a stable ground surface. We use laser levels to map out a level surface and a skid steer to remove any necessary soil and vegetation.
While some tank pads may only need the vegetation scraped back, other pads may require us to cut into a hillside or jackhammer through limestone slabs. No matter the complexity, our technicians are experienced and prepared to work with any terrain.
After the surface for the tank is leveled, sand is applied to build up a soft but stable pad. Building on sand allows for natural settling and for the tank to expand and contract as water levels and temperatures change.
Step 2
Constructing the Pioneer water tank
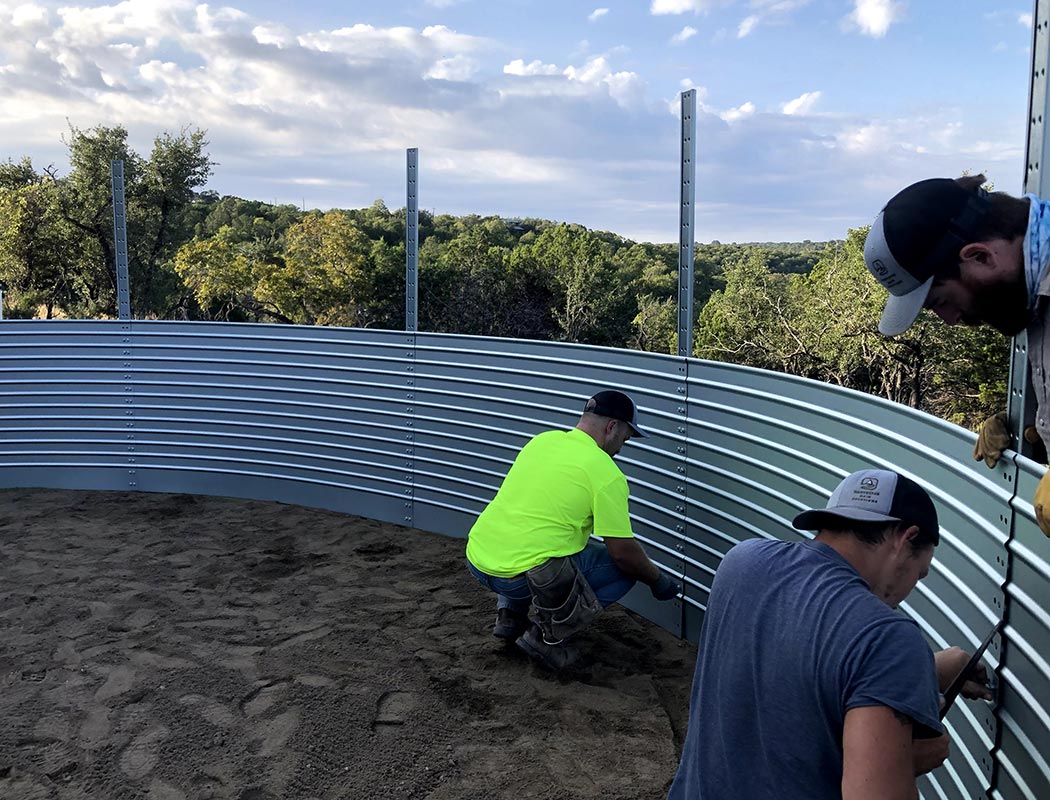
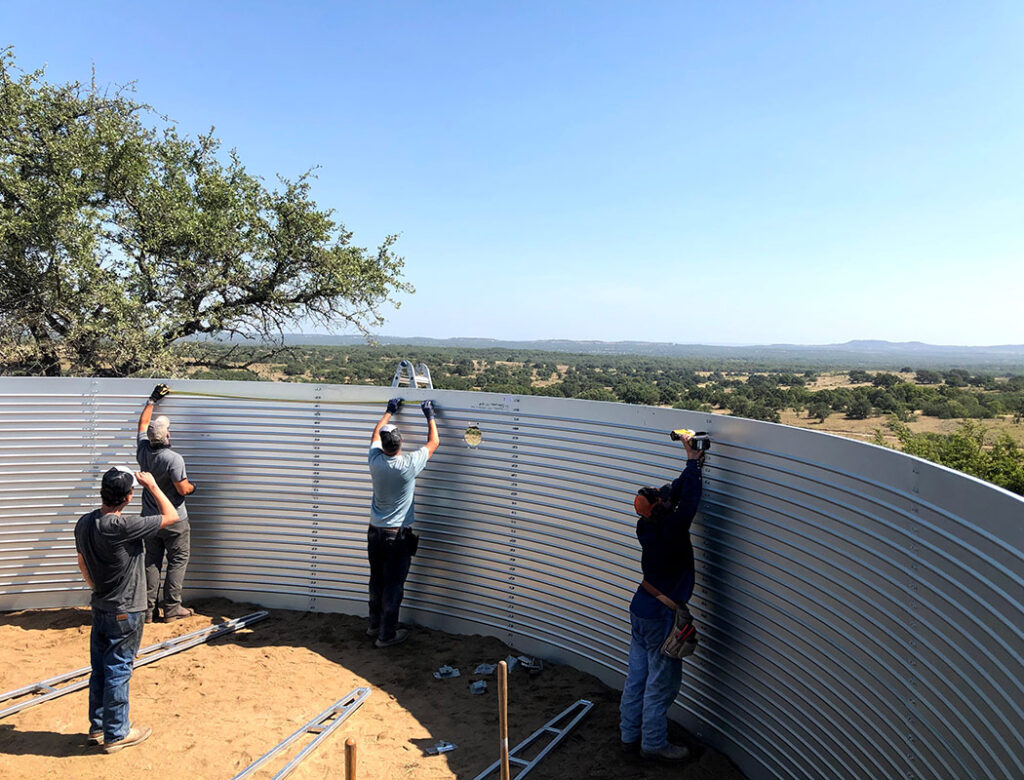
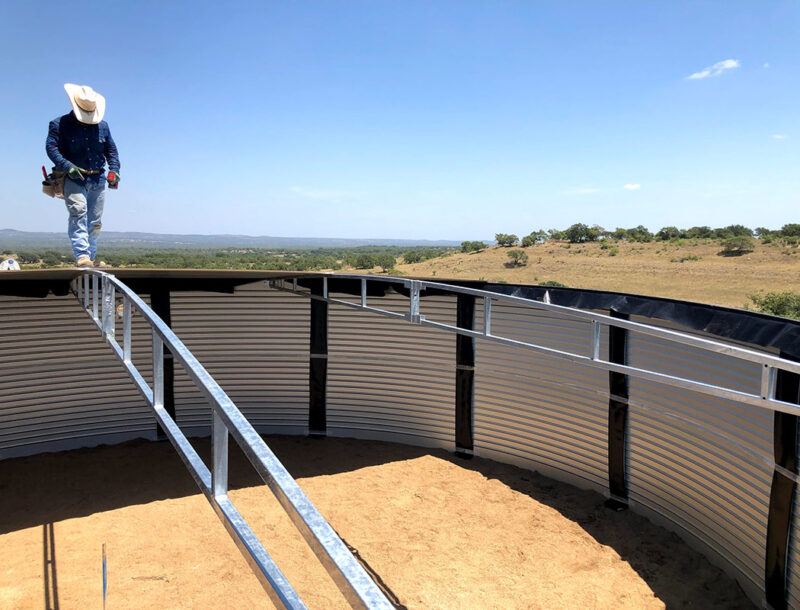
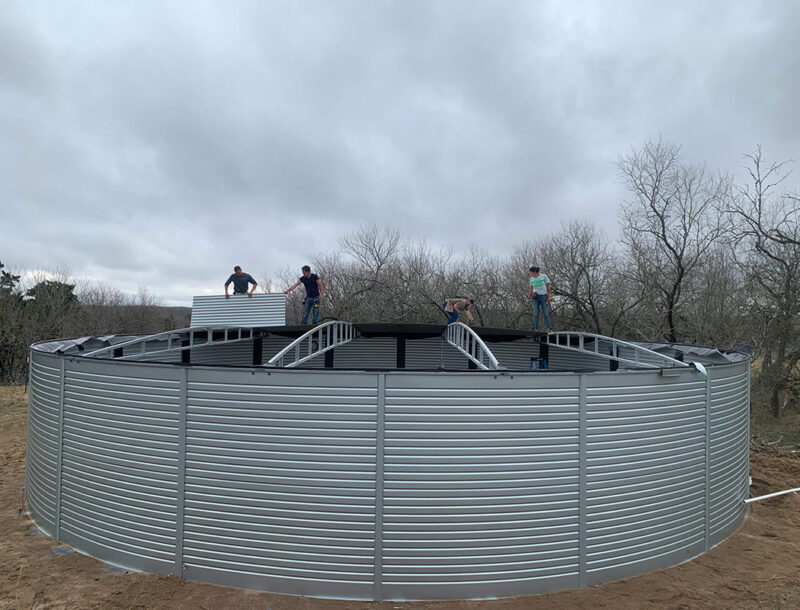
The next step is our favorite day when we build a rainwater collection system–tank day! First, our team assembles the curved PIONEER V-LOCK® corrugated steel walls, securing them with a series of bolts. Next the team carefully measures and aligns the steel trusses that support the roof.
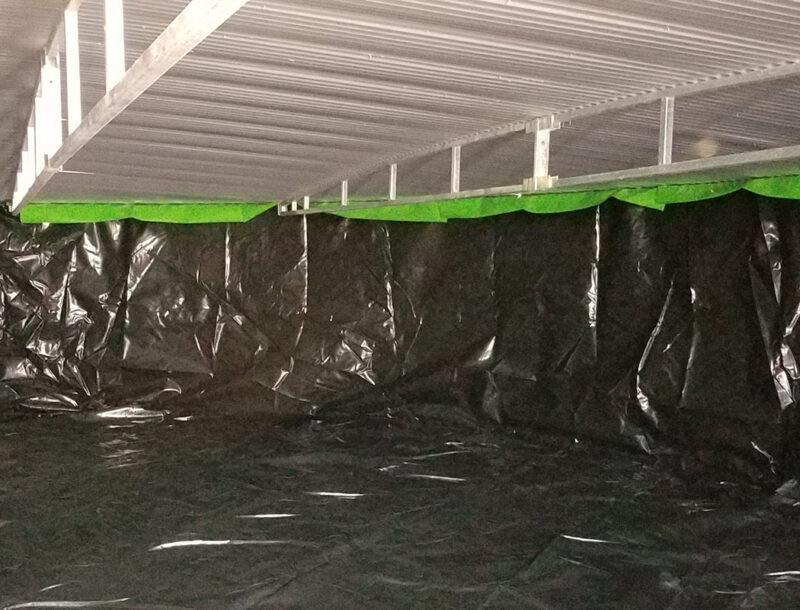
At the same time, another team hangs condensations strips and foam on the interior of the tank. The strips allow evaporated water to gather and return to the tank storage. The foam fills in gaps in the corrugation and creates a barrier from insects, pollen and dirt.
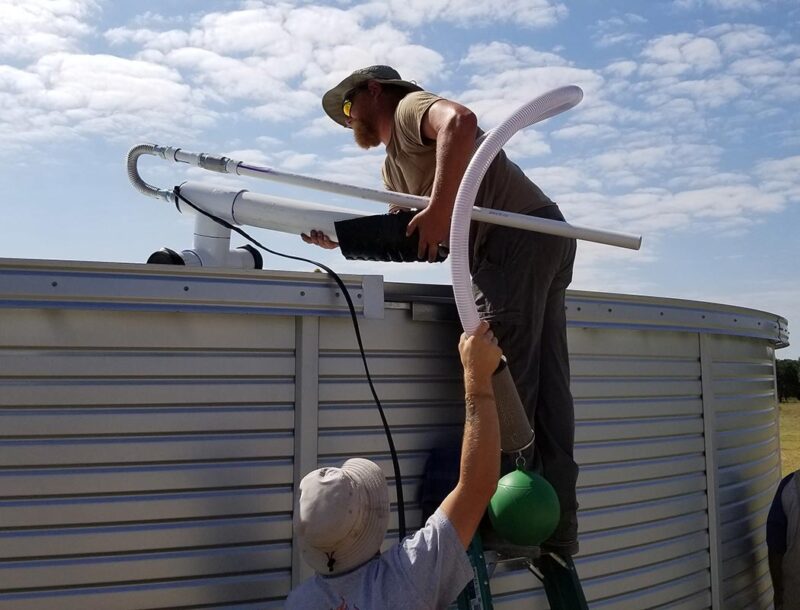
Piece by piece, our team carefully installs the corrugated roof panels. Once complete, the roof panels are trimmed and the tank access hatch, rainwater inlet and outlet, and tank level gauge are installed.
Inside the tank, a five-layer, anti-microbial, BPA free, AQUALINER® Fresh tank liner is added, allowing rainwater to expand into every portion of the tank. Beneath the tank liner, a geotextile fabric protects the tank liner and blocks vegetation growth. An overflow funnel is included for excess rainwater to exit a full tank to the ground outside.
A submersible pump is installed inside the tank that pumps rainwater from the tank to the UV treatment system. A spigot and ball valve are added outside the tank to divert or shut off water, if needed.
Step 3
Installing the rainwater collection system
The underground collection system can be installed before or after the tank construction. First, trenches are dug, and PVC piping is installed. Our team will map the best route for your rainwater collection system to minimally impact landscaping and hardscaping.
Next, PVC downspouts are installed to gather rainwater from a home’s existing gutter system. We design the downspouts to fit aesthetically with your property and paint them to match your gutter system. Gravity-created pressure from the height difference between the downspouts and the rainwater tank sends rainwater through a pipe into the top of the tank. The water is filtered through a mesh steel basket to eliminate leaves and other debris from the gutters.
Once the rainwater collection system is built, we refill the trenches and restore the area. Our goal is to leave the smallest footprint possible.
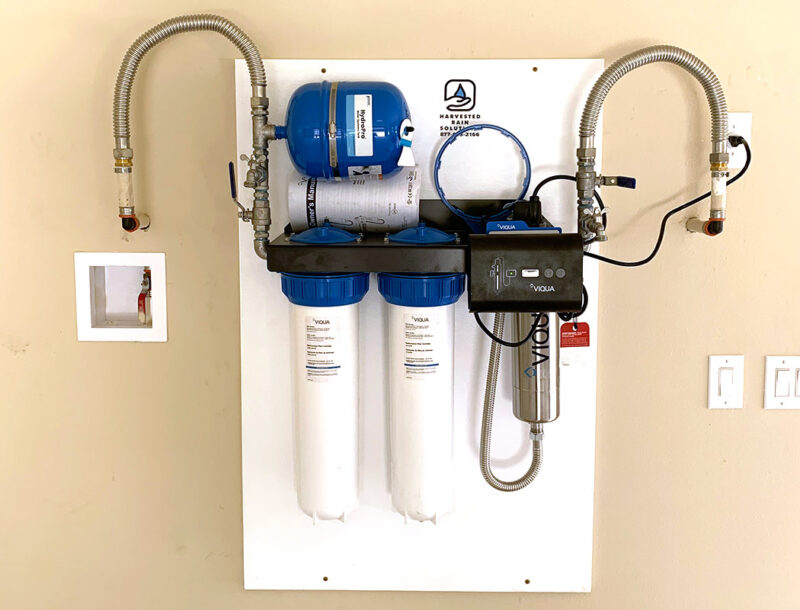
Next, the UV treatment board is installed in a location that most appropriate for your property. For homes switching from or supplementing well water, the location could be in your existing well house. For new property construction or retrofitting existing properties, the location could be in a garage or utility room where the treatment board can be tied into plumbing.
Rainwater is pumped from the tank through three treatment chambers. First, a five-micron filter removes sediment; second, a carbon filter removes taste and odor; and third, the UV light chamber disinfects any exiting bacteria. Once filtered, the water is safe and delicious and can be used for anything, simply by turning on the tap.

